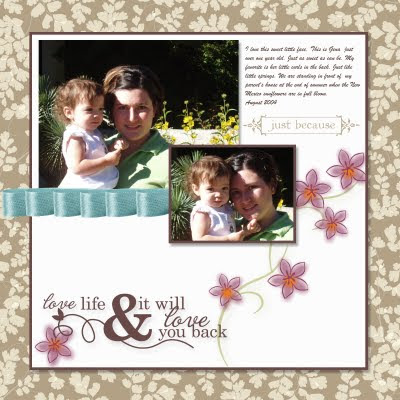
 Whoever it was that figured out this method of coloring in MDS deserves a prize because I think I wouldn't like MDS quite as much without being able to color in lined images.
1. Position your image in the place you want it on your page. In this example I used the flower from Cottage Garden
2. Next find a punch that will best fill the open area of your image. I used the narrow oval and then changed the shape until it fit. Remember if you are going for a watercolor look you don't need to be perfect.
3. Choose the button that fills the punch with paper. Select any paper it doesn't matter -- we aren't really going to use it.
4. After the punch is filled with paper double click on the punch shape you just filled with paper. This allows you to see where the punch is "punching" on your sheet of DSP. Use your mouse to drag the paper until there is no more paper showing in your punch shape. Now your punch shape is invisible.
5. Now we want to create a drop shadow for your invisible piece of paper. Click on Drop shadow. Change the color of your drop shadow to be whatever color you want to color in with. I also change my blur to Medium and Opacity to about 60% depending on the color and my background. It's easy to change.
6. If you have a symmetrical shape like this flower, you can take the shape you've already created and copy and paste it over and over. Something to consider before going on to the next step is once you've arranged the colored in part of your flower and you are going to make more like it is to select all of the petals and center if you have one by holding down the SHIFT key while you click with your mouse and group all of these layers. Then copy and paste as many as you need. Big time saver!
7. Last step, Click on the outline image and rightclick and choose to bring it to the front.
I love this technique!
Here's one more example of a more complicated coloring project. This is from Pedaling Past

This was a lot more complicated to color in so I saved it as a JPG so I could import it as a picture instead of having to color it again. Here is the project that I used it on:

These are some tags that I made for an upcoming Quick Card class. Here are my samples for the class:

Thanks for looking!

No comments:
Post a Comment